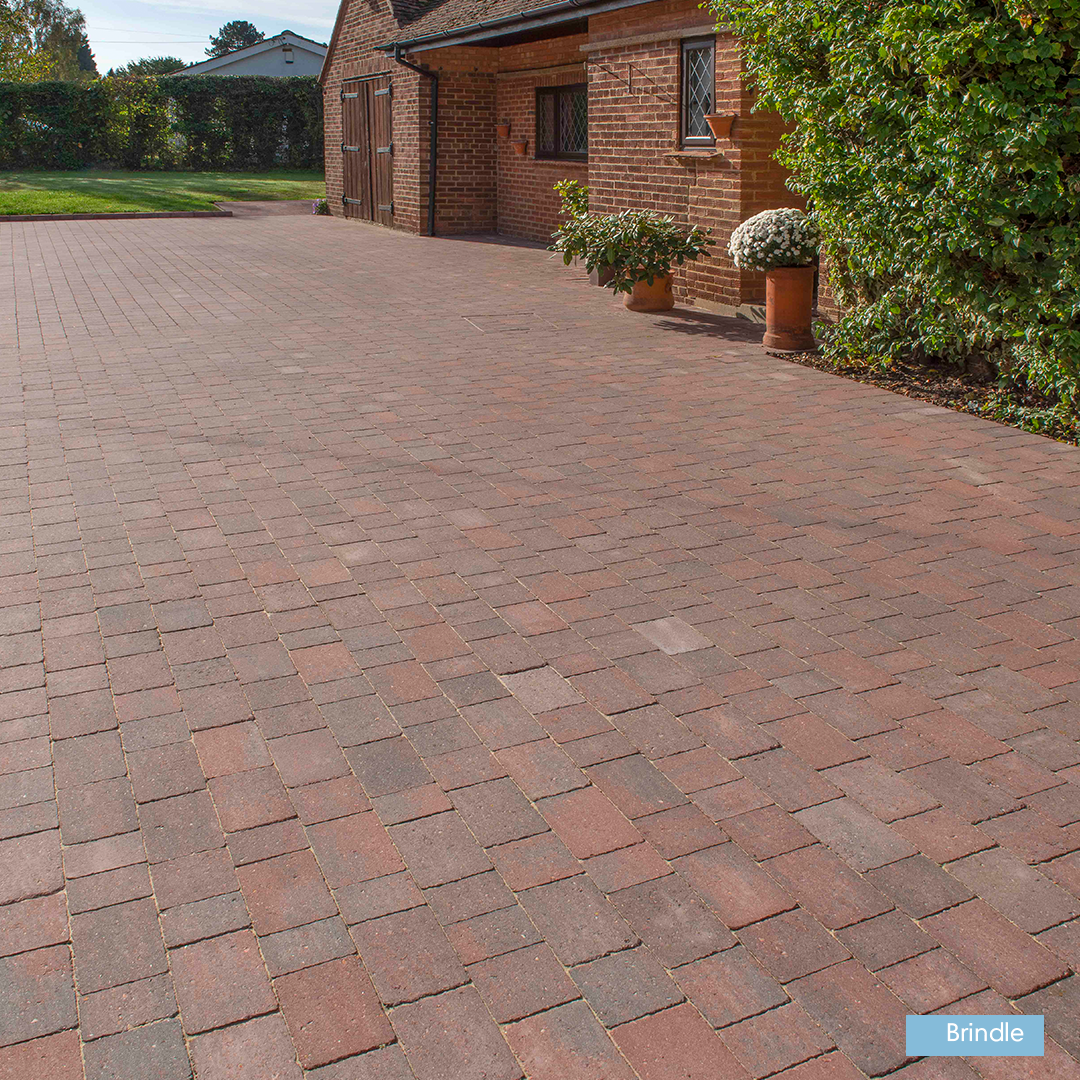


How to Install Hydraulically Pressed Concrete Paving Slabs (Chaucer, Yorktone, Broadway & Quorndon)
If you have made the decision to install paving slabs yourself, there are a number of things you need to prepare and some important steps to follow to ensure your patio paving looks good and performs well for many years, letting you get the maximum enjoyment from your outdoor space.
We’ve put together some use tips and advice on how to lay paving slabs – follow these and you can’t go wrong.
Check List
Before you start to install your paving, make sure you have everything you need. Below is a list of tools and materials you will need.
Spade, rake, broom, rubber mallet, spirit level, string line, tape measure, pointing trowel, cutting tool (e.g. disc cutter), cement mixer (not essential) and compactor (mechanical if possible), wheelbarrow and some personal protection equipment such as gloves, glasses and protective footwear.
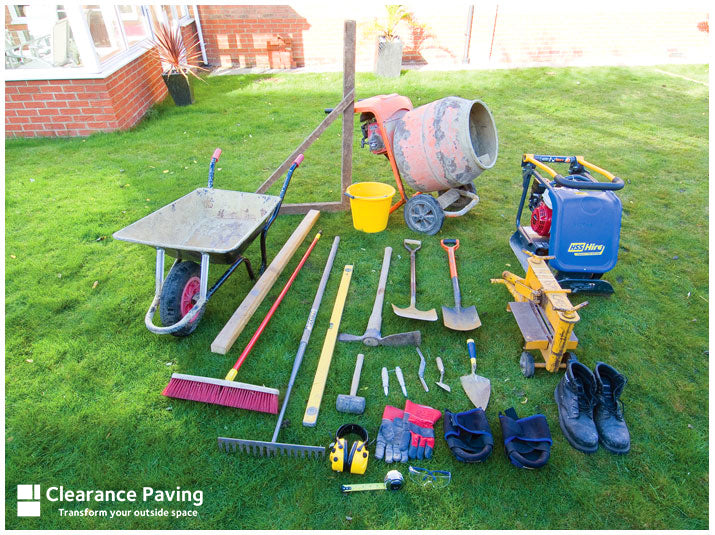
You will also need your choice of paving, building sand, washed sharp sand, cement, Type 1 Sub-Base. The quantity of the materials will depend on the size of the area you are installing, so ask your local Builders Merchant who will be able to advise.
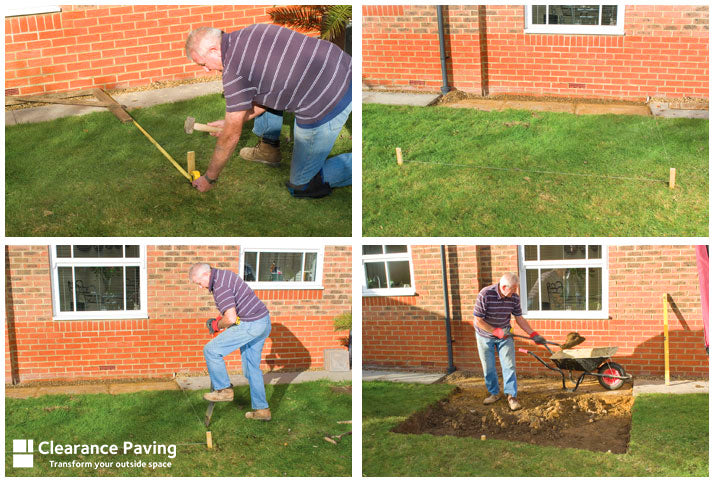
Prepare the site:
- Determine the finished level of your patio, ensuring it is at least 150mm below the DPC (damp-proof course) of your building.
- Excavate the area, removing 165 to 180mm of soil from the finished level to allow for a 100mm of subbase, 30mm of bedding layer and between 35-50mm for paving slab (depending on size of product chosen).
- Levels for longitudinal and cross falls need to be constructed at the sub-grade to allow for water runoff of the final pavement. Longitudinal falls are to be a minimum of 1-100 and cross falls a minimum of 1-80.
- If the pavement is to be constructed on weak ground, then the soft areas will require remediation and a geotextile to be laid directly onto the ground prior to the installation of the sub-base.
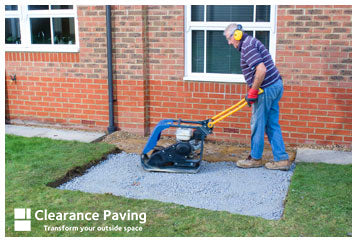
Sub-base Construction
- Install a Type 1 sub-base, ensuring a final compacted thickness of 100mm. Replicate the levels, longitudinal and cross falls from the sub-grade to allow proper water runoff and prevent ponding.
- If you are unsure about the amount of surcharge needed for compaction, trial an area to determine the required amount. (Note: Think about the amount of surcharge required to achieve a compacted thickness of 100mm. As a rough guide, 125mm of uncompacted Type 1 will compact down to 100mm when fully compacted.)
- Compact the sub-base thoroughly, ensuring a tight and dense surface to prevent loss of bedding course material during construction and use of the pavement.
Install Edge Restraints
- Securely install edge restraints around the perimeter of the patio area before laying the bedding course and paving units.
- The restraints should be robust enough to withstand traffic and should present a vertical face level with the underside of the bedding course and require haunching in concrete to the base and rear to mitigate lateral movement.
Paving Slab installation Option one: Bound Installation (with mortar)
- Prepare a stiff workable mix of M12 mortar, consisting of 1-part cement to 3 parts sharp sand or grit sand. This strong mix ensures frost resistance, and the stiffness supports the weight of the paving.
- Place enough mortar on the bedding layer for one paving unit, distressing the surface if necessary to create ridges. The ridges help achieve a full contact bed and prevent air pockets when the paving unit is tapped down. Do not use mortar dabs, as they can create voids or air pockets beneath the paving slab.
- The final thickness of the bedding layer should be 40mm. The maximum working time for a mortar is typically up to 2 hours. After this time, fresh mortar should be used.
- Lay the paving unit onto the mortar, ensuring full contact and tap it down with a paviour's maul, ensuring they do not rock after bedding. Any rocking flags should be lifted and re-laid as necessary. Repeat this process for each paving unit, ensuring they are laid to line and level.
- Lay the paving slabs with joint widths typically ranging from 6mm to 10mm. Exclude the chamfer (if present) from the joint width measurement.
- Prepare a designation M6 sand cement mortar with 1 part cement to 4 parts sand. Firmly press the mortar into the joints using a suitable pointing iron.
- Fill the joints to the full depth of the paving, leaving a gap of 2 to 3mm from the top surface.
- Clean off any excess mortar from the surface of the paving immediately to avoid staining.
- Allow at least 24 hours before walking on the paved surface. During this time, protect the area from any heavy use or disturbance.
Paving Slab installation Option Two: Unbound Installation (with sand)
- Install a laying course with a pre-compacted thickness of 30mm in either of the below methods.
- Method 1: Spread the material in one layer and compact it with a plate compactor. Loosen the top 10mm using a rake to accommodate slab thickness tolerances.
- Method 2: Screed out 25mm of laying course material, compact it, and then screed out another 10mm of loose material for a total thickness of 30mm. Ensure the surface is level and smooth by screeding.
- Place the paving units onto the laying course, ensuring a joint width of 2-5mm between the slabs. (this should not include any chamfers and the slabs should never be butt jointed. They are laid to line and level, with the use of string lines)
- Use string lines to ensure proper alignment and compact the units with a paviour's maul. The units should not rock after bedding; adjust and re-lay any rocking flags.
Jointing
- If you desire a joint width wider than 5mm, use the bound installation method.
- Fill the joints of the paving with kiln-dried silica joint filling sand.
- Check and top up the joints as needed, especially in the early life of the patio when jointing material can be removed by wind and rain.
-
By following these step-by-step instructions, you can successfully install hydraulic concrete paving as a patio or pavement, providing a durable and aesthetically pleasing outdoor space for your enjoyment.